

Key Takeaways
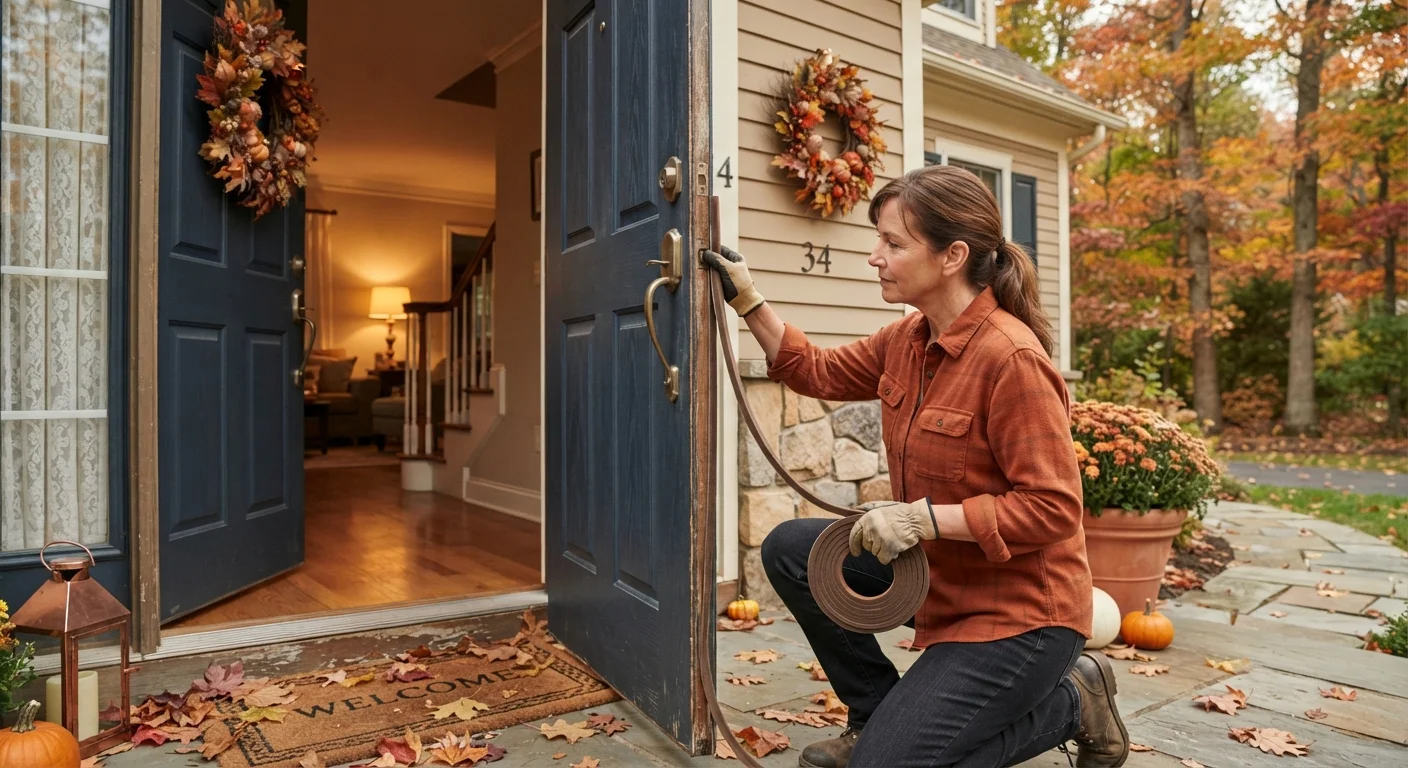
- Sealing drafts around doors and windows is the highest-impact first step in winterizing a home.
- Pipe insulation is inexpensive and can prevent costly freeze-and-burst damage in cold snaps.
- Attic insulation and ventilation work together - improving one without the other can reduce effectiveness.
- Clearing gutters and checking the roof before freeze cycles helps prevent ice dam formation.
- Most weatherproofing tasks are DIY-friendly, but electrical, gas, and structural work requires a licensed professional.
What you will need
Why Winterizing Before the Cold Hits Matters
Heat loss, frozen pipes, and moisture infiltration are among the most common - and preventable - sources of home damage in winter. Acting before temperatures drop gives you time to work methodically rather than reactively, and most of the tasks involved are well within reach for a homeowner with basic tools and a free weekend.
A well-weatherproofed home doesn't just protect against damage; it typically runs more comfortably and efficiently through the heating season. For a broader seasonal perspective, see which maintenance jobs belong in fall versus spring. This guide focuses specifically on the steps that deliver the most protection before freezing conditions arrive.
Know When to Call a Professional
Tasks involving your furnace, gas lines, electrical panel, or structural components should always be handled by a licensed professional. DIY work on these systems can create fire, carbon monoxide, or safety hazards. Check local permit requirements before beginning any insulation or roofing project.
What You'll Need Before You Start
Gather your supplies and do a quick walk-through of your home - inside and out - before beginning. Note any visible gaps, peeling caulk, worn door sweeps, or areas where cold air is already noticeable. A systematic check now saves you from missing problem spots later.
What you will need
Caulk gun and weatherproof caulk
Seals stationary gaps around window frames, door frames, and exterior penetrations.
Weatherstripping
Seals moving gaps - the edges of doors and operable windows - that compress when closed.
Pipe insulation foam sleeves
Wraps exposed pipes in unheated spaces to reduce freeze risk during cold snaps.
Door sweep
Attaches to the bottom of exterior doors to block the gap between door and threshold.
Ladder and gutter scoop
Allows safe access to gutters for clearing debris before freeze cycles cause ice dams.
Programmable or smart thermostat
Helps maintain consistent indoor temperatures that protect pipes without overheating empty rooms.
Utility knife and putty knife
Used to remove old caulk and weatherstripping before applying fresh materials.
Step-by-Step Weatherproofing Process
Follow these steps in order to address the most impactful areas first. Each step can be completed independently if you're working across multiple weekends.
Audit Doors and Windows for Drafts
On a windy day, move a lit incense stick or a thin strip of tissue paper slowly around the perimeter of each exterior door and window. Movement indicates a draft. Pay special attention to corners, where caulk tends to crack first, and to the bottom edge of doors, where sweeps wear out over time.
For guidance on which sealing method fits each type of gap, see caulk vs. weatherstripping. If you discover windows with failed seals, fogging between panes, or visible frame damage, consult when window replacement may be warranted.
Apply Fresh Caulk and Replace Worn Weatherstripping
Use a putty knife to remove any cracked, peeling, or separating caulk from around window and door frames, then clean the surface and apply a fresh bead of exterior-grade, paintable caulk. For moving parts - door edges and operable windows - replace worn weatherstripping with a type matched to the gap size and door style (compression, V-strip, or foam tape are common options).
Replace door sweeps that no longer make firm contact with the threshold when the door is closed. Most door sweeps are screwed to the interior face of the door and can be swapped in under 15 minutes.
Insulate Exposed Pipes in Unheated Spaces
Pipes running through unheated garages, crawl spaces, exterior walls, or basements are the most vulnerable to freezing. Measure the pipe diameter and purchase pre-slit foam sleeve insulation to match. Slip the sleeves over the pipes and secure with tape at joints. Pay particular attention to pipes on the coldest exterior-facing walls.
Know where your main water shutoff valve is located before winter arrives. If a pipe does freeze, turning off the supply quickly can limit damage.
Clear Gutters and Inspect the Roof
Clogged gutters prevent meltwater from draining and contribute to ice dam formation at the roof's edge - a leading cause of interior water damage in winter. Remove leaves, seed pods, and debris from gutters and downspouts, then flush with water to confirm free flow. Extend downspout drainage at least 3-4 feet away from the foundation.
From the ground or attic, look for missing shingles, damaged flashing around chimneys and vents, or soft spots that could allow water infiltration once ice and snow accumulate.
Service Your Heating System
Replace the furnace filter - a clogged filter forces the system to work harder and distributes poor air quality through the home. Check that all supply and return vents are unobstructed by furniture or rugs. If your system uses a boiler, check the pressure gauge and bleed radiators that have air pockets.
Schedule professional furnace or boiler servicing annually. A technician can identify heat exchanger cracks, gas pressure issues, or venting problems that are not safely self-diagnosed. Carbon monoxide detectors should be tested and batteries replaced at this time as well.
Check Attic Insulation and Ventilation
Look into your attic to assess the depth and condition of existing insulation. The U.S. Department of Energy provides regional R-value recommendations that vary by climate zone - many older homes fall short of current guidelines. Adding blown-in or batt insulation to an under-insulated attic is one of the higher-impact efficiency improvements available to homeowners.
Equally important: confirm that attic vents are not blocked by insulation. Proper ventilation prevents warm, moist air from condensing on the roof deck and causing rot or mold. For a detailed breakdown of insulation types and where each belongs, see our home insulation types guide.
Going Further: Insulation and Moisture Control
Once drafts and pipes are addressed, consider whether your home's insulation is doing its job. Attics are the most common area of under-insulation in American homes - heat rises, and inadequate attic insulation allows it to escape directly through the roof. Our plain-language guide to home insulation types explains R-values, material options, and where each type is typically used.
Basements and crawl spaces also deserve attention before winter. Moisture that accumulates below grade can cause structural damage and degrade indoor air quality over time. For strategies that address root causes rather than symptoms, see what actually works for basement moisture control. Finally, don't overlook the roof - ice dams form when heat escapes through the roof deck and melts snow that then refreezes at the eaves. Review warning signs your roof needs attention before the first freeze cycle arrives.