

Key Takeaways
- Old caulk must be fully removed before applying a new bead - never caulk over caulk.
- Surfaces must be completely dry and clean for adhesion to hold long-term.
- Using the wrong caulk type for tubs or windows is one of the most common causes of early failure.
- A smooth, tooled bead beats a thick, uneven one every time for a watertight seal.
- Skipping cure time before exposing new caulk to water is a fast path to peeling.
Why Caulk Fails in the First Place
Caulk is one of the most underestimated materials in home maintenance. A tube costs just a few dollars, and the job looks straightforward-yet failed caulk is one of the leading contributors to moisture intrusion, mold growth, and costly water damage around tubs, showers, and windows. Understanding why it fails is the first step toward doing it right.
The two main culprits are poor surface preparation and incorrect product selection. Caulk is an adhesive sealant; it bonds to surfaces the same way tape bonds to skin-it won't stick if the surface is dirty, damp, or already coated in old, degraded material. When the bond fails, water finds its way behind tile, into wall cavities, and along window frames, where it can stay hidden for months before visible damage appears.
For a broader look at how moisture management connects across your home, see our guide on basement moisture control-the same principles of stopping water at the source apply whether you're working one floor up or below grade.
The Most Common Caulking Mistakes
Most failed caulk jobs trace back to a handful of recurring errors. Recognizing them before you start can save you from redoing the work in six months.
Applying new caulk directly over old, degraded caulk without removing it first.
Why it happens: Removing old caulk is tedious and time-consuming, so many homeowners simply apply a fresh bead on top, assuming it will seal the gap.
Caulking over a damp or contaminated surface, causing immediate adhesion failure.
Why it happens: Homeowners often caulk immediately after cleaning with water, or work in a bathroom that was recently used, not realizing the surface needs to be bone dry.
Using an interior paintable caulk in a wet area like a tub surround or shower seam.
Why it happens: General-purpose latex caulks are widely available and familiar, leading many DIYers to reach for them regardless of the application.
Applying too thick a bead, which skins over on the outside while remaining uncured beneath.
Why it happens: The instinct is to fill the gap as fully as possible, but a thick bead doesn't cure evenly and often cracks or pulls away from one surface.
Skipping tape lines, resulting in ragged edges that are difficult to clean and look unprofessional.
Why it happens: Painter's tape adds a setup step that feels unnecessary, especially for experienced DIYers working quickly.
If your project also involves tile work around tubs or showers, the substrate matters just as much as the caulk. Our article on bathroom tile surface prep walks through how to set up a solid foundation before any sealant is applied.
How to Caulk Tubs and Windows the Right Way
Once you understand the mistakes, the correct process is straightforward. Follow these steps in order and allow adequate time at each stage.
Step 1: Remove All Old Caulk
Use a plastic scraper or dedicated caulk-removal tool to pull out every trace of the existing bead. For stubborn residue, apply a caulk softener (available at hardware stores) and let it dwell before scraping. Never apply new caulk over old - even a thin remaining layer breaks the adhesive bond.
Step 2: Clean and Dry the Surface
Wipe the joint with isopropyl alcohol or a mildew-removing cleaner, then let it dry completely. For tub surrounds, this may take several hours - or overnight if the area was recently used. Moisture trapped beneath new caulk is a guaranteed path to early failure.
Step 3: Choose the Right Product
For tubs and showers, use a 100% silicone or siliconized latex caulk rated for wet areas and mold resistance. For windows, a paintable latex caulk is typically more appropriate and easier to finish. Not sure which scenario calls for caulk versus another sealant type entirely? Our comparison of caulk vs. weatherstripping can help you choose the right seal for each gap.
Step 4: Apply and Tool the Bead
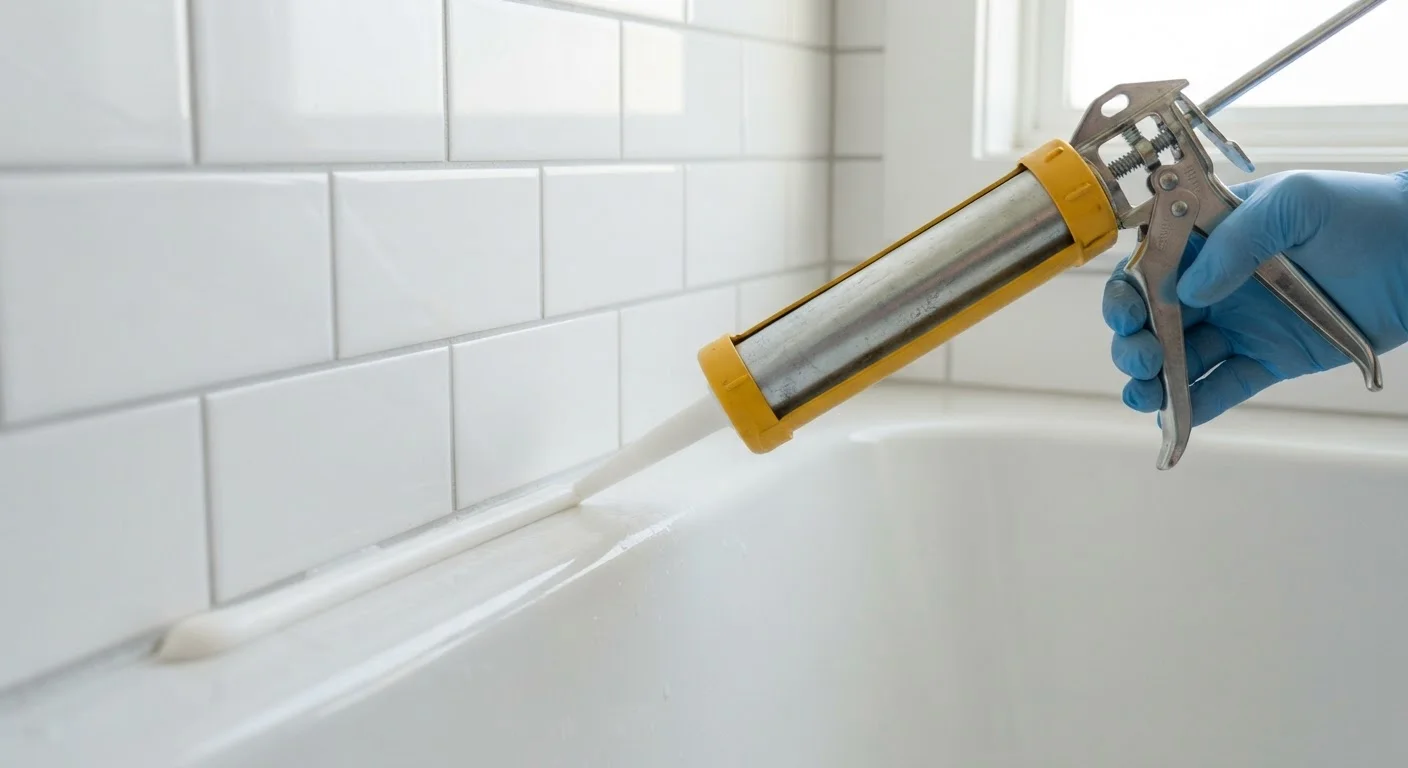
Cut the tube tip at a 45-degree angle to produce a bead roughly matching the joint width. Apply steady, even pressure as you draw the gun in one continuous motion. Immediately smooth the bead with a wet finger or a caulk-finishing tool, pressing it firmly into the joint. Wipe away excess with a damp cloth before it skins over.
Step 5: Respect the Cure Time
Most caulks skin over in 30 minutes but require 24-48 hours to fully cure before water contact. Check the product label - silicone formulations often need the full 48 hours. Running water on uncured caulk washes out plasticizers and dramatically shortens its lifespan.
90%
Of bathroom water damage linked to failed seals
Industry estimates from home inspection organizations consistently point to failed caulk and grout seals as a primary pathway for moisture intrusion behind tub and shower walls.
24-48 hrs
Minimum cure time before water exposure
Most silicone caulk manufacturers specify a minimum 24-to-48-hour full cure period before the joint should be exposed to water or humidity.