

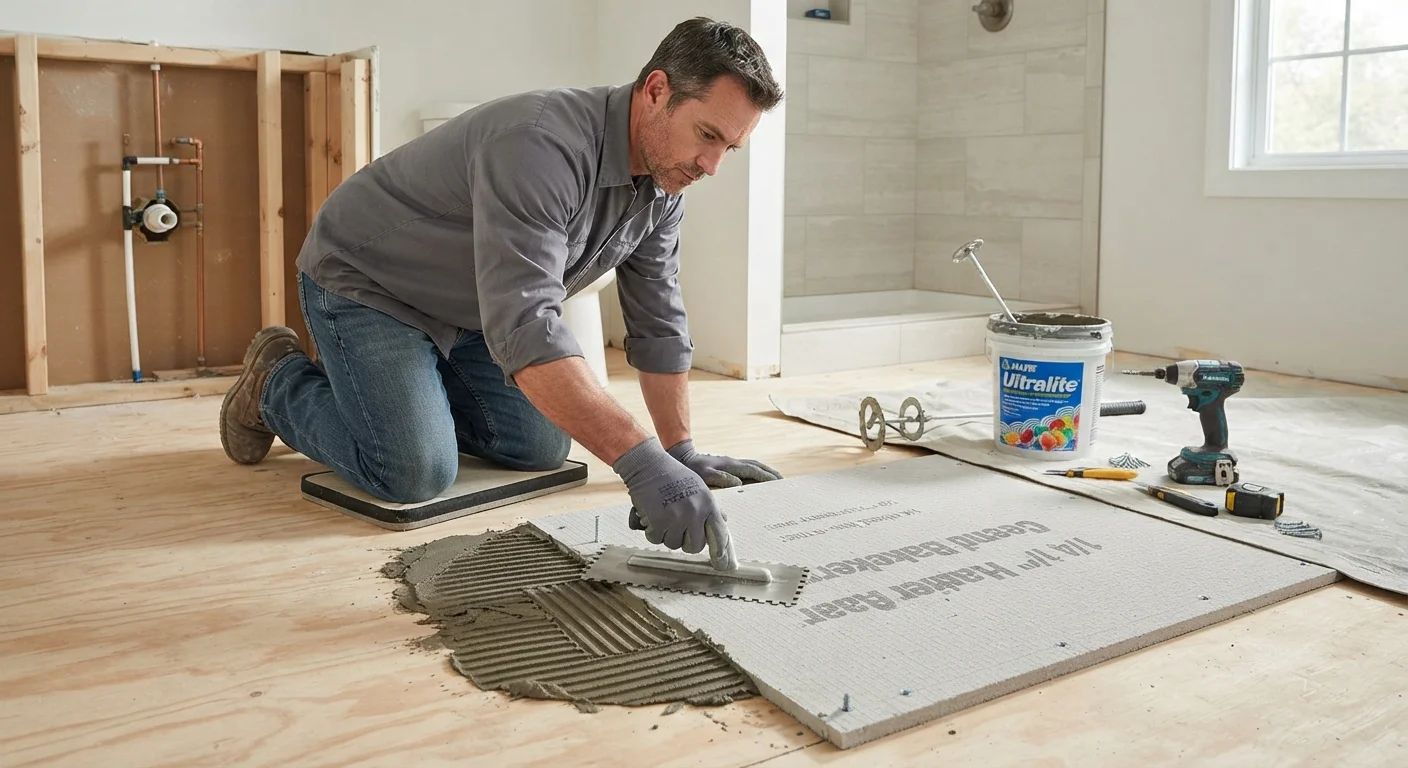
Key Takeaways
- A flat, stable, moisture-resistant substrate is the single most important factor in tile longevity.
- Drywall is not appropriate for wet areas - cement backer board or uncoupling membrane is required.
- Any flex in the subfloor will eventually crack grout lines and tile, regardless of tile quality.
- Skipping surface prep is the leading cause of tile failures that require full removal and reinstallation.
- Waterproofing membranes in showers and wet zones must be applied before any tile is set.
Why Surface Prep Determines Whether Your Tile Job Lasts
Most homeowners focus on choosing the right tile - the color, size, finish, and pattern. That's understandable, but experienced tile setters will tell you a different story: the substrate underneath the tile does more to determine long-term success than the tile itself.
Tile is rigid and unforgiving. It bonds chemically to whatever surface it's adhered to, and it has no tolerance for movement, moisture intrusion, or unevenness. When any of those conditions exist - even slightly - the result is cracked tiles, failed grout joints, and in wet areas, mold and structural damage hidden behind the wall.
Understanding what your substrate needs before you set a single tile is what separates a professional-quality installation from one that fails within a few years.
Best Practices for Bathroom Tile Surface Preparation
Follow these proven practices to build a substrate that keeps tile secure, level, and waterproof for the long term.
Test every floor joist for flex before laying floor tile.
Tile and grout have virtually no tolerance for deflection. If a floor bounces or springs underfoot, the bond between tile and mortar will break over time, cracking grout first and eventually the tiles themselves. The standard threshold is no more than L/360 deflection (length of span divided by 360), which is the minimum stiffness typically required by tile industry guidelines.
Replace standard drywall in wet areas with cement backer board or a tile-ready panel.
Regular gypsum drywall - even moisture-resistant "green board" - is not rated for direct water exposure over time. Wet areas such as shower surrounds and tub enclosures require a non-organic substrate that won't swell, soften, or support mold growth when moisture penetrates grout lines.
Apply a waterproofing membrane inside showers before setting any tile.
Grout is not waterproof - it's water-resistant at best. Over time, water migrates through grout joints and reaches the substrate. A properly applied waterproofing membrane (sheet-applied or liquid-applied) stops water at the substrate layer, preventing damage to framing and subfloor.
Flatten walls and floors to within 1/8 inch over 10 feet before tiling.
Tiles - especially large-format tiles - will rock, crack during installation, or leave voids behind them if the surface isn't flat. Voids beneath tiles lead to hollow spots and eventual breakage. Flatness is different from level; both are important, but flatness comes first.
Seal cut edges and screw holes in backer board with thinset before waterproofing.
Exposed fastener holes and cut edges on cement backer board are potential pathways for moisture to reach the wall cavity. Filling these with thinset mortar during installation closes those gaps before the waterproofing layer is applied.
Quick Actions You Can Take Before Your Project Starts
A few assessments done early will save you significant rework once materials are purchased and the project is underway.
Just as surface prep defines the outcome in tiling, the same principle applies elsewhere in your home. See our step-by-step painting guide for how thorough prep translates to a lasting paint job, or learn why caulk fails around tubs - a closely related finishing step in any bathroom renovation.