

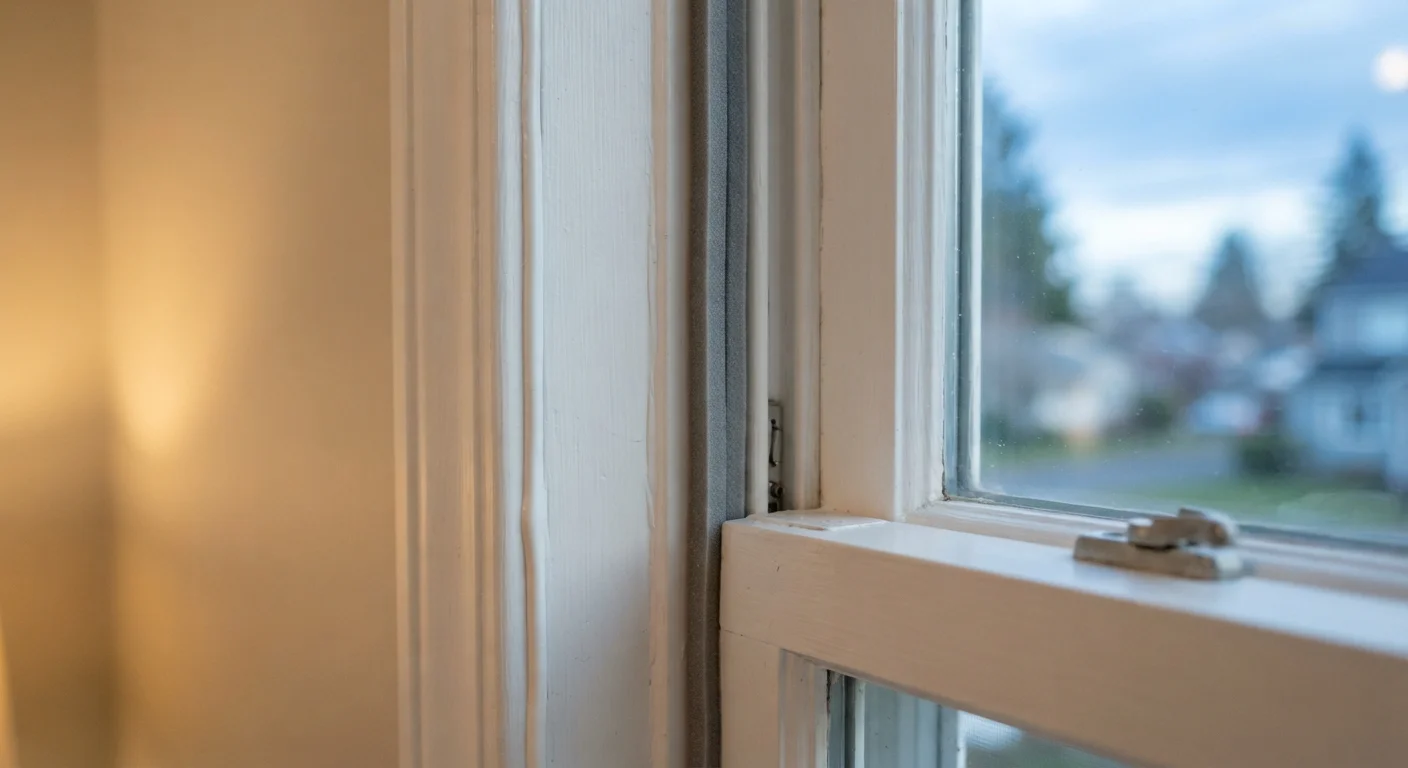
Key Takeaways
- Caulk seals stationary gaps; weatherstripping seals moving parts like door edges and operable windows.
- Using the wrong material in the wrong location causes premature failure and wasted effort.
- Caulk adheres to surfaces permanently; weatherstripping must flex and compress without losing its seal.
- Most homes need both materials - they work together, not as substitutes for each other.
- Inspect both seals annually, especially before winter, to catch cracks, gaps, or worn compression.
Option A
Caulk
The permanent, flexible filler for stationary gaps.
Best for: Best for sealing fixed joints and cracks where two surfaces meet but don't move - such as around window frames, door casings, and baseboards.
Option B
Weatherstripping
The compressible seal designed for surfaces that move.
Best for: Best for sealing the moving parts of doors and windows - the edges that open, close, and flex repeatedly throughout the year.
If you're filling a crack where the wall meets a window frame
Caulk
This joint is stationary and rigid. Caulk bonds to both surfaces and flexes slightly with normal house movement without separating.
If you're stopping drafts around a door that opens and closes daily
Weatherstripping
Door edges move every time the door operates. Weatherstripping is engineered to compress and recover repeatedly without cracking or losing adhesion.
If you're sealing around a bathtub or interior baseboard
Caulk
These are fixed joints. Silicone or latex caulk creates a waterproof or paintable seal that holds on stationary surfaces for years.
If you want to weatherproof an operable double-hung window
Weatherstripping
The sash slides up and down. Compressible foam or V-strip weatherstripping accommodates that movement while maintaining a consistent seal.
The Core Difference: Movement vs. No Movement
The single most important question to ask before reaching for either product is: does this gap move? That one factor determines which material belongs there.
Caulk is a sealant that cures into a semi-flexible solid. It adheres to both sides of a joint and works best where the two surfaces stay in place - think the perimeter of a window frame against siding, the joint where a door casing meets drywall, or the gap between a baseboard and the floor. Caulk can handle minor expansion and contraction from seasonal temperature shifts, but it cannot tolerate the repeated compression and release that comes from opening a door or raising a window sash.
Weatherstripping is a compressible material - foam tape, rubber gaskets, V-strip (also called tension seal), or door sweeps - installed along the edges of operable doors and windows. Every time you open or close the door, the weatherstripping compresses and springs back. It's built to do that thousands of times before needing replacement.
Most homes require both. A door, for example, typically needs caulk around its stationary frame and weatherstripping along its moving sash or panel edges. Treating them as either/or leads to gaps, failed seals, and wasted materials. For a broader look at how these two tools fit into seasonal preparation, see our full winterizing guide.
Where Each Material Belongs
Understanding the right location for each product prevents the most common sealing mistakes homeowners make.
| Criterion | Caulk | Weatherstripping |
|---|---|---|
| Best application | Stationary joints and cracks | Moving edges and operable parts |
| Material form | Liquid sealant, cures in place | Foam, rubber, vinyl, or metal strip |
| Handles repeated movement | No - cracks under repeated flex | Yes - designed to compress and recover |
| Typical lifespan | 5-10 years (surface and product dependent) | 2-5 years (type and use frequency dependent) |
| DIY difficulty | Low - gun, smooth, let cure | Low - cut to length, press or screw in place |
| Removal process | Requires scraping and solvent | Peel off adhesive-backed strip or unscrew |
Where to Use Caulk
- Around window and door frames - the joint between the frame and the wall or exterior siding (not the operable sash)
- Baseboards and trim - where wood trim meets drywall, especially before painting
- Pipes and utility penetrations - where pipes, conduit, or cables pass through walls or floors
- Exterior foundation gaps - small cracks and gaps where the foundation meets the sill plate
Where to Use Weatherstripping
- Door stop molding - foam or rubber strips that compress when the door closes
- Door bottoms - door sweeps or threshold seals that close the gap between the door panel and the floor
- Operable window sashes - V-strip in window channels or foam tape along the sash edges
- Garage doors - perimeter rubber gaskets and bottom seals designed for large, frequently operated panels
If caulk is applied to a moving joint, it will crack or peel within one season. If weatherstripping is pressed into a fixed gap where it cannot compress, it won't seal correctly and will wear unevenly.
For a deeper look at why caulk fails when applied incorrectly - and how to get a lasting bead - see our guide on common caulk failure causes and correct technique.
Maintenance and Inspection Tips
Both materials wear out over time. Building a simple annual inspection into your home maintenance routine helps you catch deterioration before it becomes a heating bill problem or a moisture issue.
Signs Your Caulk Needs Replacing
- Visible cracks, shrinkage, or gaps in the bead
- Caulk that has pulled away from one surface
- Discoloration or mold growth on or beneath the caulk line
- A bead that feels hard and brittle instead of slightly flexible
Signs Your Weatherstripping Needs Replacing
- Visible daylight around a closed door or window
- Foam that no longer springs back after compression
- Torn, cracked, or missing sections of rubber or foam
- Drafts felt at the door edges even when the door is latched
A good time to inspect both is in early fall, before outdoor temperatures drop significantly. Run your hand along sealed edges on a cool, windy day - any air movement you feel is a gap that needs attention. Replacing a worn weatherstrip or re-caulking a joint typically takes under an hour and requires only basic tools.
Note: For gaps around gas lines, structural penetrations, or areas that may require permits, consult a licensed contractor rather than attempting a DIY seal.