

Key Takeaways
- Match your repair method to hole size - small, medium, and large holes each require a different approach.
- Joint compound must be applied in thin layers and allowed to dry fully between coats to avoid cracking.
- Feathering and sanding are the keys to making a patch blend invisibly with the surrounding wall.
- Texture matching is often the most challenging part - practice the technique before applying to the wall.
- Most drywall repairs require only basic tools readily available at hardware stores.
What you will need
Understanding the Damage Before You Start
Not all drywall damage is the same, and choosing the wrong repair method wastes both time and materials. Before you pick up a putty knife, assess what you're dealing with:
- Nail pops and small dents (under ½ inch): Caused by fasteners working loose or minor impacts. These need only spackling compound and minimal sanding.
- Medium holes (½ inch to 4 inches): Doorknob strikes, wall anchors pulled out, or accidental punctures fall here. A self-adhesive mesh patch or California patch method handles these reliably.
- Large holes (over 4 inches): Require a backing board or a drywall backer panel to support a new drywall patch cut to size.
Also check whether the damaged area shows signs of moisture - soft or discolored drywall around the hole may indicate a leak that needs to be fixed before any cosmetic repair. If you're unsure whether a repair is within your skill set, read our guide on deciding when to DIY vs. hire a pro before proceeding.
What you will need
Tools and Materials You'll Need
Gathering everything before you begin prevents mid-project trips to the hardware store and keeps the work moving efficiently.
Spackling compound or lightweight joint compound
Fills holes and covers mesh patches; joint compound is preferred for larger repairs requiring multiple coats.
Putty knife or taping knife (6-inch and 10-inch)
Applies and feathers compound smoothly across the repair area.
Self-adhesive fiberglass mesh patch
Provides a reinforced base for patching medium-sized holes without needing wood backing.
Sandpaper (120-grit and 220-grit)
Smooths dried compound between coats and produces a paint-ready surface after the final coat.
Primer
Seals the repaired area so the finish coat of paint adheres evenly and doesn't flash differently from the surrounding wall.
Sanding sponge
Useful for blending compound on curved or textured surfaces where flat sandpaper is awkward.
For medium and large holes, you'll also need a drywall saw (also called a jab saw), a T-square or straightedge for cutting clean lines, and wood furring strips or backer boards to anchor the patch panel.
Step-by-Step: Patching Your Drywall
Follow the steps below in order. Rushing the drying stages is the most common reason patches become visible after painting - patience pays off here.
Clean and Prepare the Damaged Area
Remove any loose paper facing, crumbled gypsum, or protruding fasteners from around the hole. For nail pops, drive the nail slightly deeper with a hammer and drive a new drywall screw about 2 inches above and below it to re-anchor the panel. Use a utility knife to trim any jagged edges so the hole has a cleaner perimeter - compound adheres better to stable edges than to torn paper.
Apply the Appropriate Patch (Medium Holes)
For holes between ½ inch and 4 inches, center a self-adhesive fiberglass mesh patch over the hole and press it firmly to the wall. The mesh acts as a reinforcing base and keeps compound from sinking into the void. For the California patch method (a good alternative for holes up to 5 inches), cut a piece of drywall slightly larger than the hole, score the back side, snap off the gypsum, and leave only a paper flap border - the paper flap bonds directly to the wall surface without needing backing.
Install a Backer Board for Large Holes
For holes larger than 4 inches, cut the damaged section into a clean rectangle using a drywall saw and straightedge. Cut two furring strips or pieces of scrap lumber several inches longer than the hole's height. Insert them vertically inside the opening and screw them to the existing drywall on each side - they act as cleats. Cut a drywall patch to fit the opening exactly, then screw it to the cleats. Tape all seams with paper drywall tape pressed into a thin bed of joint compound.
Apply Joint Compound in Thin Coats
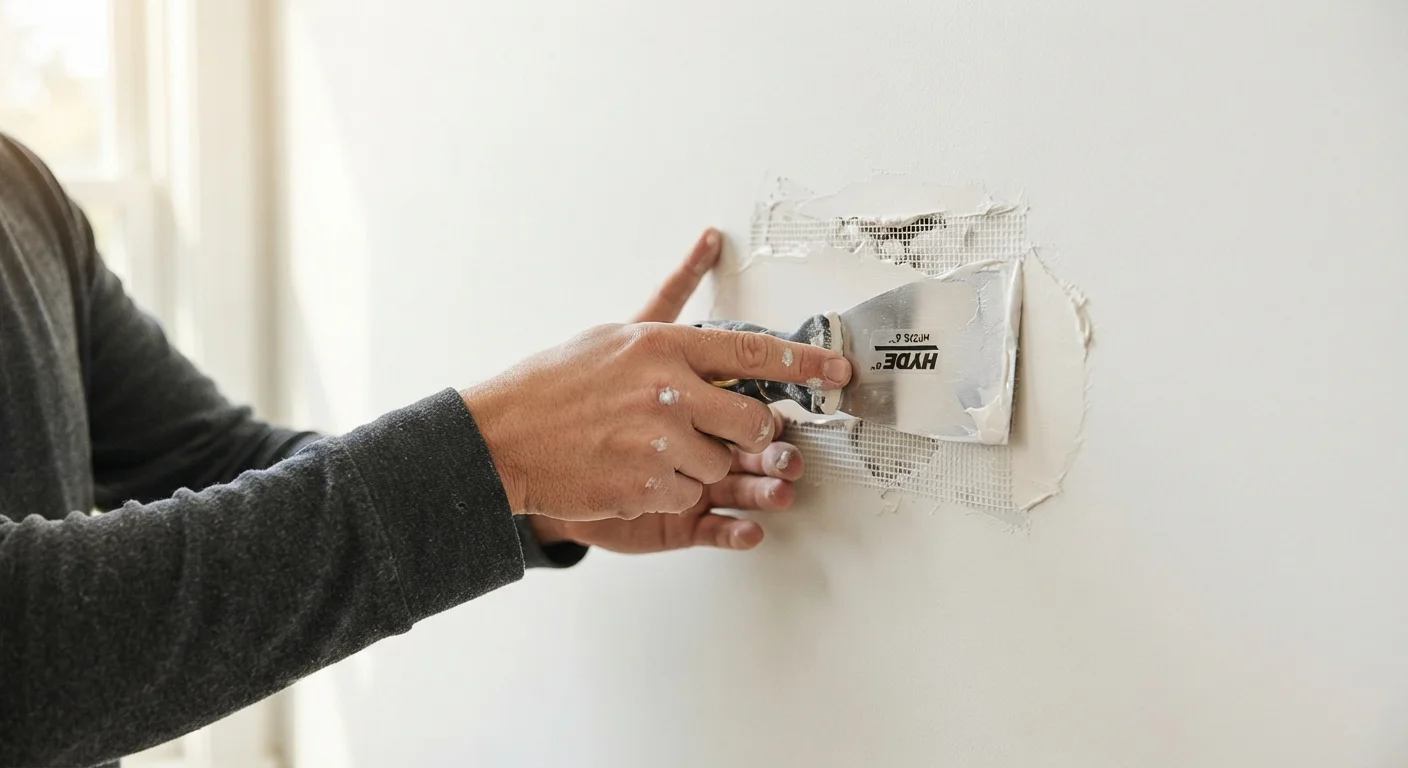
Load your 6-inch knife with a modest amount of joint compound and spread a thin first coat over the patch, pressing it into the mesh or seams. Immediately follow with your 10-inch knife to feather the edges - draw the blade outward from the center at a low angle so the compound tapers to nearly nothing at the edges. Let this coat dry completely (typically 4-8 hours depending on humidity and temperature) before sanding lightly with 120-grit paper. Apply a second and, if needed, third coat, widening your feathering zone by several inches with each pass.
Sand, Prime, and Match Texture
After the final compound coat has dried, sand with 220-grit paper until the patch is flush and smooth. Use a bright light held at a low angle to catch any ridges or depressions. Apply a coat of drywall primer over the entire repaired area and let it dry fully. If the surrounding wall has texture - orange peel, knockdown, or skip trowel - replicate it now using the appropriate technique before painting. Practice your texture application on a scrap piece of cardboard first to dial in the pattern before committing to the wall.
Once the final coat of paint is dry, inspect your work under raking light (a flashlight held nearly parallel to the wall surface). This reveals any imperfections that flat-on lighting hides, giving you a chance to correct them before calling the job done. For other finishing repairs around the home, see our article on why caulk fails and how to do it right - proper prep makes all the difference there too.