
Basement Finishing: What Moisture Testing, Egress, and Ceiling Height Mean for Your Plans

Key Takeaways
- Moisture testing must be completed and any problems resolved before any finishing work begins.
- Building codes require at least one egress window or door in every habitable basement room.
- A finished ceiling height of at least 7 feet is required in most U.S. jurisdictions for livable space.
- Permits are typically required for basement finishing - verify local requirements before starting.
- Skipping pre-finish assessments is one of the most common and costly basement renovation mistakes.
What you will need
Why These Three Factors Come Before Everything Else
Most basement finishing projects stall - or fail outright - because planning begins at the wrong end: picking flooring samples or paint colors before confirming the space can legally and safely become what the homeowner envisions. Moisture, egress, and ceiling height are not details to work around; they are the conditions that determine whether a basement can be finished at all, and what it can legally be used for once it is.
Moisture problems concealed behind finished walls are the leading cause of mold, odor, and structural damage in finished basements. Egress deficiencies mean a room cannot legally be called a bedroom - which affects both habitability and resale value. And insufficient ceiling height, discovered after framing is up, can mean tearing out work and rethinking the entire floor plan.
Addressing all three upfront is also how you protect your budget. Discovering a drainage issue after drywall is hung costs dramatically more to fix than catching it on bare concrete. The same logic applies to the rest of the home envelope - as covered in our overview of every major home system.
Permits Are Not Optional Here
Basement finishing almost universally requires a building permit in the United States. Unpermitted work can create liability when you sell the home, void homeowner's insurance claims related to the space, and - most critically - leave safety hazards undetected. Contact your local building department before any framing, electrical, or egress work begins.
What to Assess Before You Frame a Single Wall
The steps below walk through each assessment in order of priority. Complete them in sequence - moisture first, because a significant moisture problem may halt the project entirely until it is resolved. Once you have clean results across all three areas, you have the data you need to finalize your floor plan, meet with contractors, and approach the permit office with confidence.
What you will need
Conduct a Plastic Sheet Moisture Test on the Slab
Tape a 12-by-12-inch piece of clear plastic sheeting to the bare concrete floor, sealing all four edges with duct tape. Leave it undisturbed for 48 to 72 hours. When you remove it, check both the underside of the plastic and the concrete beneath it for condensation or visible dampness.
- Condensation under the plastic: moisture is wicking up through the slab - a subsurface drainage or waterproofing issue.
- Condensation on top of the plastic: humid air from the interior is condensing - a ventilation or humidity issue, often easier to address.
- Dry on both sides: a promising sign, but repeat the test in multiple locations, especially near walls and below-grade corners.
Inspect Foundation Walls for Cracks and Seepage
Use a bright flashlight to examine every section of your foundation walls. Note the type and location of any cracks you find. Hairline shrinkage cracks are common and often low-risk, but horizontal cracks - especially in block walls - can indicate lateral soil pressure and require a structural engineer's evaluation before any finishing work proceeds.
Look for efflorescence (white chalky mineral deposits), staining, or tide marks that indicate past water infiltration. Even if the wall feels dry today, historical evidence of water entry is a red flag that must be investigated.
Measure Ceiling Height Accurately
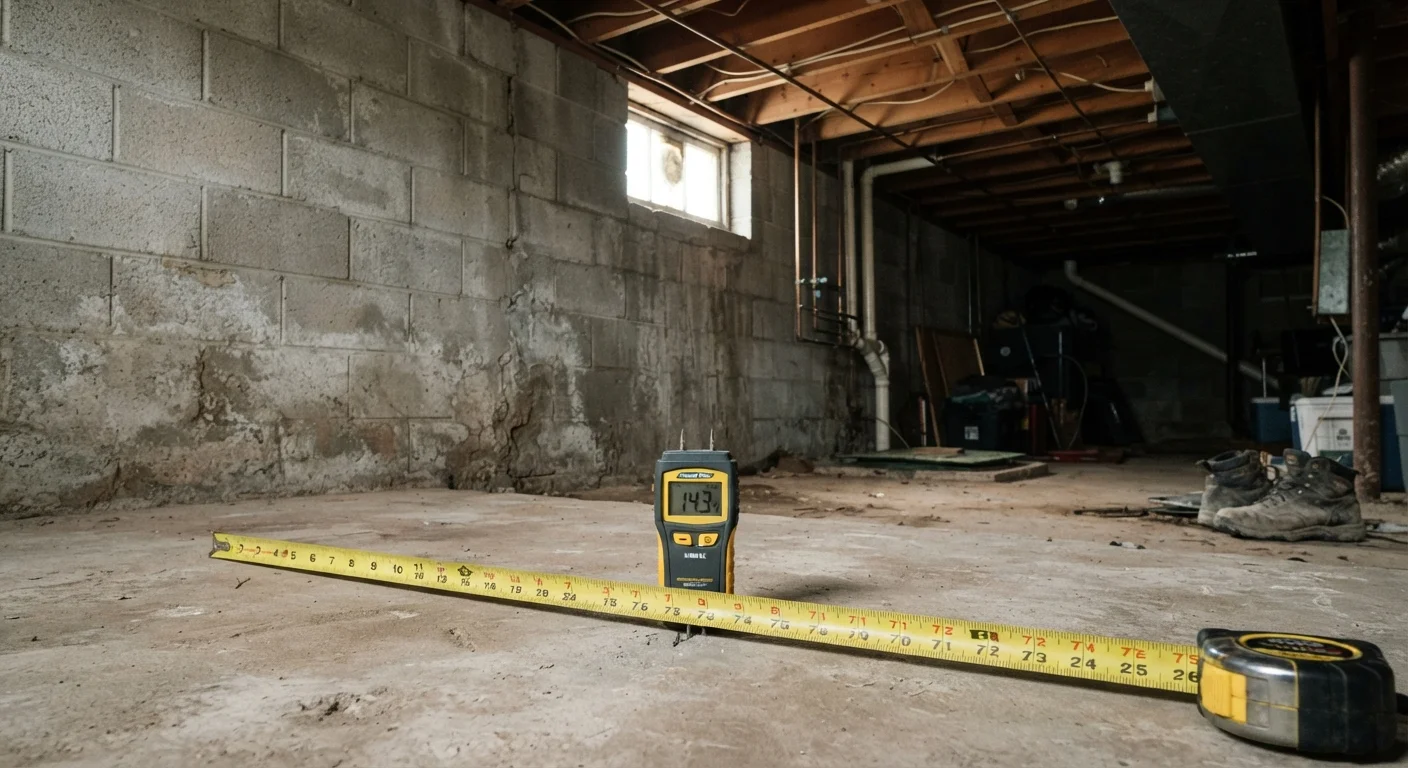
Use a tape measure to determine the floor-to-joist clearance at its lowest point - this is where beams, ducts, pipes, and other obstructions typically reduce headroom. The International Residential Code (IRC) generally requires a minimum finished ceiling height of 7 feet in habitable rooms, though some jurisdictions allow 6 feet 8 inches in portions of the space.
Subtract the thickness of your planned floor assembly (typically 1.5 to 3 inches for sleepers plus subfloor, or about 3/4 inch for a floating floor directly on the slab) from your raw measurement. If the result falls below the minimum, your finishing options are limited: a floating floor system laid directly on the slab, or no floor build-up at all. In tight cases, you may need to explore lowering mechanicals or redirecting ductwork - costs that need to enter your planning budget early.
Evaluate Egress Requirements for Each Planned Room
Any room you intend to use as a sleeping room (bedroom) must have a code-compliant egress opening - a window or door that provides a path of escape in an emergency. The IRC specifies minimum dimensions: the opening must have a minimum net clear opening of 5.7 square feet, a minimum height of 24 inches, and a minimum width of 20 inches. The sill height (the bottom of the opening) must be no more than 44 inches above the finished floor.
For non-sleeping habitable rooms - a family room, home office, or gym - egress requirements are less stringent, though your jurisdiction may still require a minimum window for light and ventilation. Check with your local building department, as codes vary.
If your existing windows don't meet egress dimensions, window well excavation and enlargement is a significant but common project that typically requires a permit and professional installation of the well and drainage.
Identify Mechanical Systems That Affect Your Layout
Before finalizing your floor plan, locate and document all existing mechanicals: the furnace, water heater, electrical panel, sump pump, floor drains, and any ductwork or plumbing runs. Most codes require clear access to these systems and minimum clearances around them - you cannot bury an electrical panel behind a fixed wall or block access to a cleanout.
Ductwork is often the biggest layout obstacle. Soffits (dropped ceiling boxes framed around ducts) eat headroom and define traffic flow. Sketch their positions in your floor plan before committing to a room layout. If the current duct routing is incompatible with your vision, consult an HVAC professional about reconfiguration - this is work that should be done before any framing begins. A professional home inspection can also help you identify system conditions worth addressing before you build around them.
Compile Findings and Consult Your Local Building Department
With your moisture test results, ceiling height measurements, egress notes, and mechanical map in hand, contact your local building department. Describe the planned scope of work and ask specifically: which permits are required, what inspections will be scheduled, and whether your planned egress openings meet local code. Many departments offer pre-application meetings or online checklists that make this step efficient.
This is also the stage at which you'll decide which portions of the work require licensed tradespeople. Electrical, plumbing, and HVAC alterations nearly always require licensed contractors to pull sub-permits in addition to the main building permit.
Making Sense of What You Find
Running through these assessments will put you in one of three positions. In the first, everything checks out: the slab is dry, ceiling clearance is adequate, and egress is already compliant. You can move directly to design and permitting. In the second, you have manageable issues - a marginally short ceiling height that dictates a thinner floor system, or a window that needs enlargement. These are common, solvable problems that affect your timeline and budget but don't stop the project.
The third position is discovering something that requires professional intervention before any finishing work is possible: active water infiltration, a crack requiring structural review, or ceiling heights that simply cannot reach code minimums without excavation. In these cases, the assessment has saved you from investing tens of thousands of dollars into a space that would fail inspection or develop serious problems within a few years.
Plan Your Floor System Early
The choice between a sleeper-and-subfloor system, a dimple mat with floating floor, or a direct-to-slab installation affects both moisture performance and finished ceiling height. Make this decision before finalizing your ceiling height calculations so your measurements reflect the real finished floor level.
Whatever your findings, document them thoroughly. Photographs, moisture test results, and your measurements become part of the project record - useful for your contractor, the building department, and any future buyer. For further guidance on managing dampness below grade, see our detailed resource on what actually works for basement moisture control.
Never Frame Over an Active Moisture Problem
Installing insulation and drywall over a damp slab or leaking wall traps moisture inside the wall cavity, accelerating mold growth and structural decay. Address every identified moisture source - including grading, gutters, and foundation cracks - and confirm the space is dry for at least 60 days before framing. For a deeper look at solutions, see our guide on basement moisture control.